Getting started with Website Builder
Build a sports website with pages, forms, products, and your own domain.
What's a website on Playpass?
Your website is your organization's home on Playpass. All your schedules, registration activities, memberships, booking pages, and storefronts can be shown on it.
Your website comes automatically with about and search pages. You can also add custom pages that appear like a blog post, in the footer, during registration, or in any combination of places.
Create your website
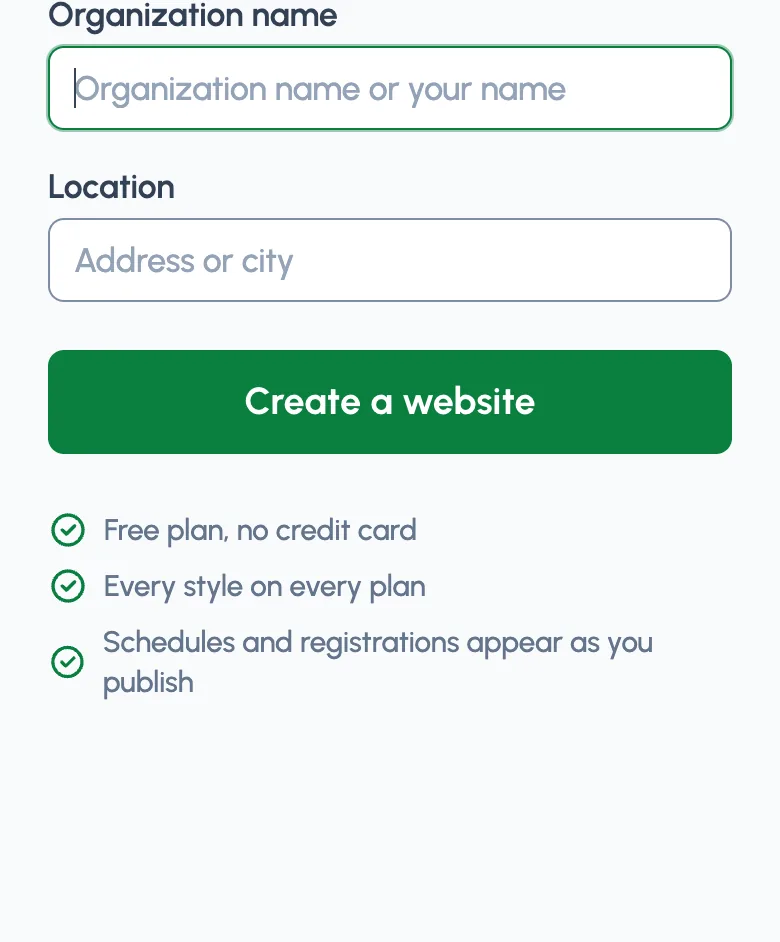
First, create a website by entering your organization's name and location.
Design your website
Everything that shapes your public site lives in one place: Dashboard > Website. It opens on an overview of your site with its current style, your public address, a checklist of website essentials, and links to each part below. Tap Edit on your homepage to jump there too; that button is only visible to you and the managers you add.
Design
From Dashboard > Website > Design you can make your site your own:
- Upload your logo, a square mark shown beside your name in the navbar and footer and as your browser tab icon. Add an optional wide logo for the banner. When visitors start sign-in from your website, organizations on a paid plan or enabled for Stripe payments carry their identity through the sign-in screens.
- Upload a banner photo and choose its size, alignment, and whether to show your logo, name, and tagline on it.
- Pick a style: Classic, Varsity, Arena, Bulletin, Rec, Clubhouse, Scoreboard, or Neon. Classic follows each visitor's light or dark preference; the other styles reshape your site around your logo and brand colors. Switching styles never changes your content, pricing, or links, so try them freely.
- Set your brand color and an optional accent color, or tap Use logo colors to have Playpass suggest both from your logo.
These design options are available on every plan. Custom domains remain a paid add-on.
The preview beside the form shows your design on example content, so you can judge it even before you have published anything. Tap Save when it looks right, then View website to see your real pages. Your design works at your Playpass address and on a connected custom domain.
See our demo site, Your Sports Club, for an example.
Add Sections to your homepage
From Dashboard > Website > Sections you can order and group content on your homepage by creating sections and adding items to them like league schedules, tournament registration pages, storefronts, and more.
- First, create a section.
- Then, add items to the section
You can re-order the items to have the exact order you want.
Note: If you have any sections visible on your homepage, it will replace the default homepage view that shows everything published.
More settings
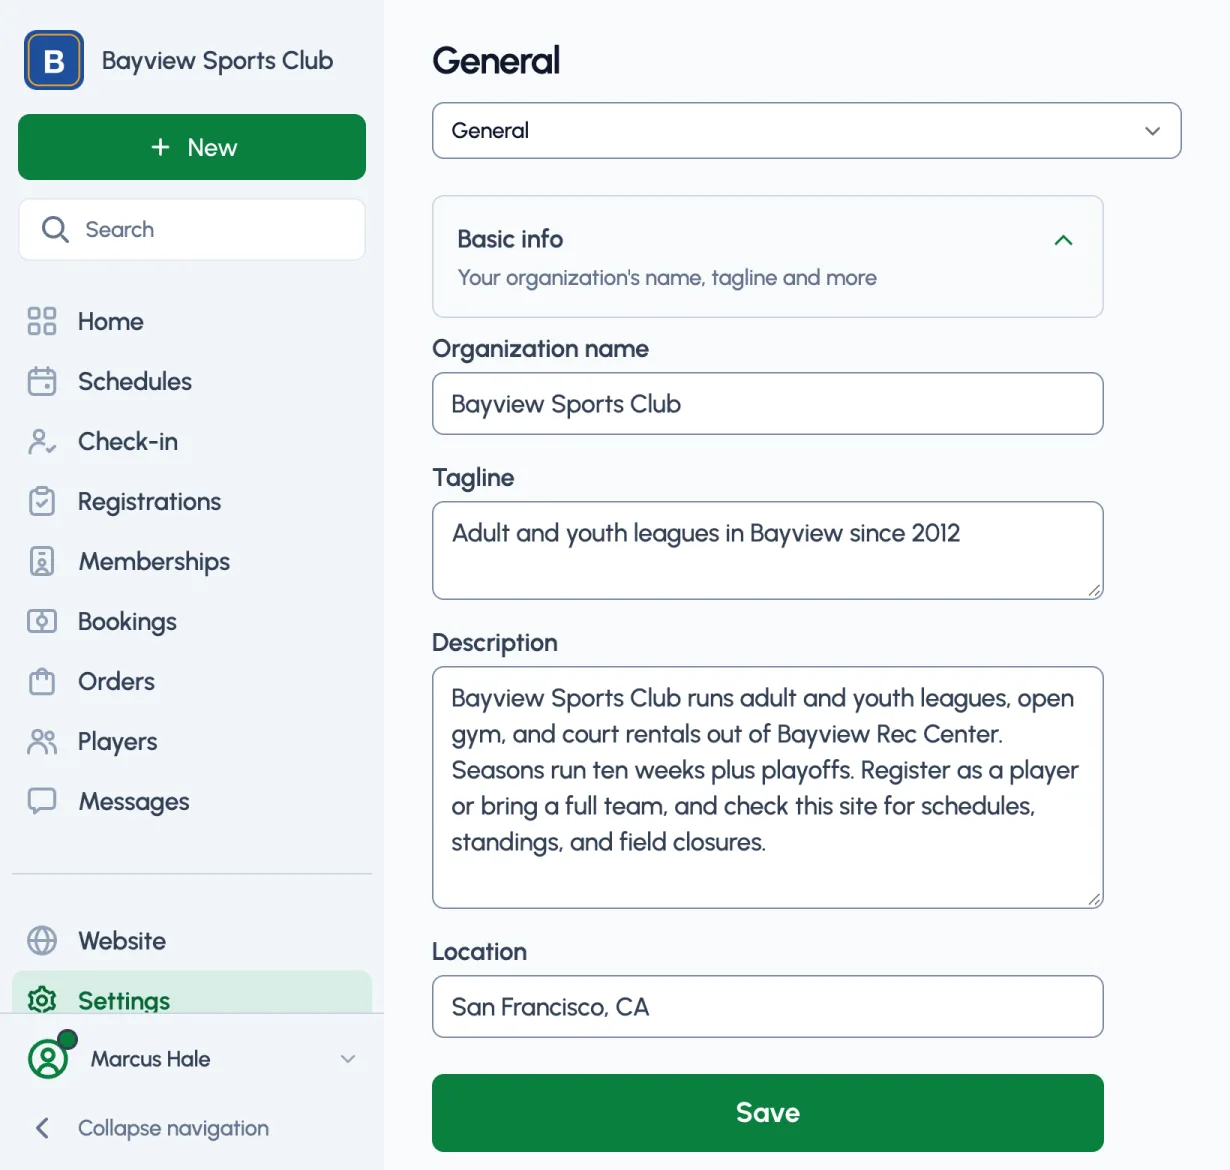
From Dashboard > Settings > Basic info you can change your organization's name, add a tagline, and add a description that will appear on your website.
Custom Link
Set a Custom Link to shorten and customize your link on Playpass. For example: playpass.com/YSC
Custom Domain
Want to use your own domain like yoursportsclub.com? On any paid plan (Plus, Pro, or Max), you can connect a custom domain as an add-on for a yearly fee. We handle the SSL certificate automatically so your site is always secure.
To set up a custom domain:
- Go to Dashboard > Settings > Website Address
- Enter your domain name
- Add the DNS records shown to your domain provider
- Click "Check Status" — once verified, your domain is live
Once your Custom Domain is active, your Custom Link will redirect to your custom domain.
Create a page
From the Create menu or from Dashboard > Website > Pages you can create a new page.
Then for Edit your page > Visibility you can control where each page appears: on your homepage, as a footer link, or during registration as something that players must agree to.
Here are some quick page examples, and where you might want each to appear:
- Terms & Conditions - appear as footer link and during registration
- Rules - appear on homepage, footer link, and during registration
- Winter season promotion (landing page) - homepage only
Want to see it in action? Check out our new demo site Your Sports Club to see pages, schedules, registration activities, waivers and even coupons. Your site can look as good, if not better.
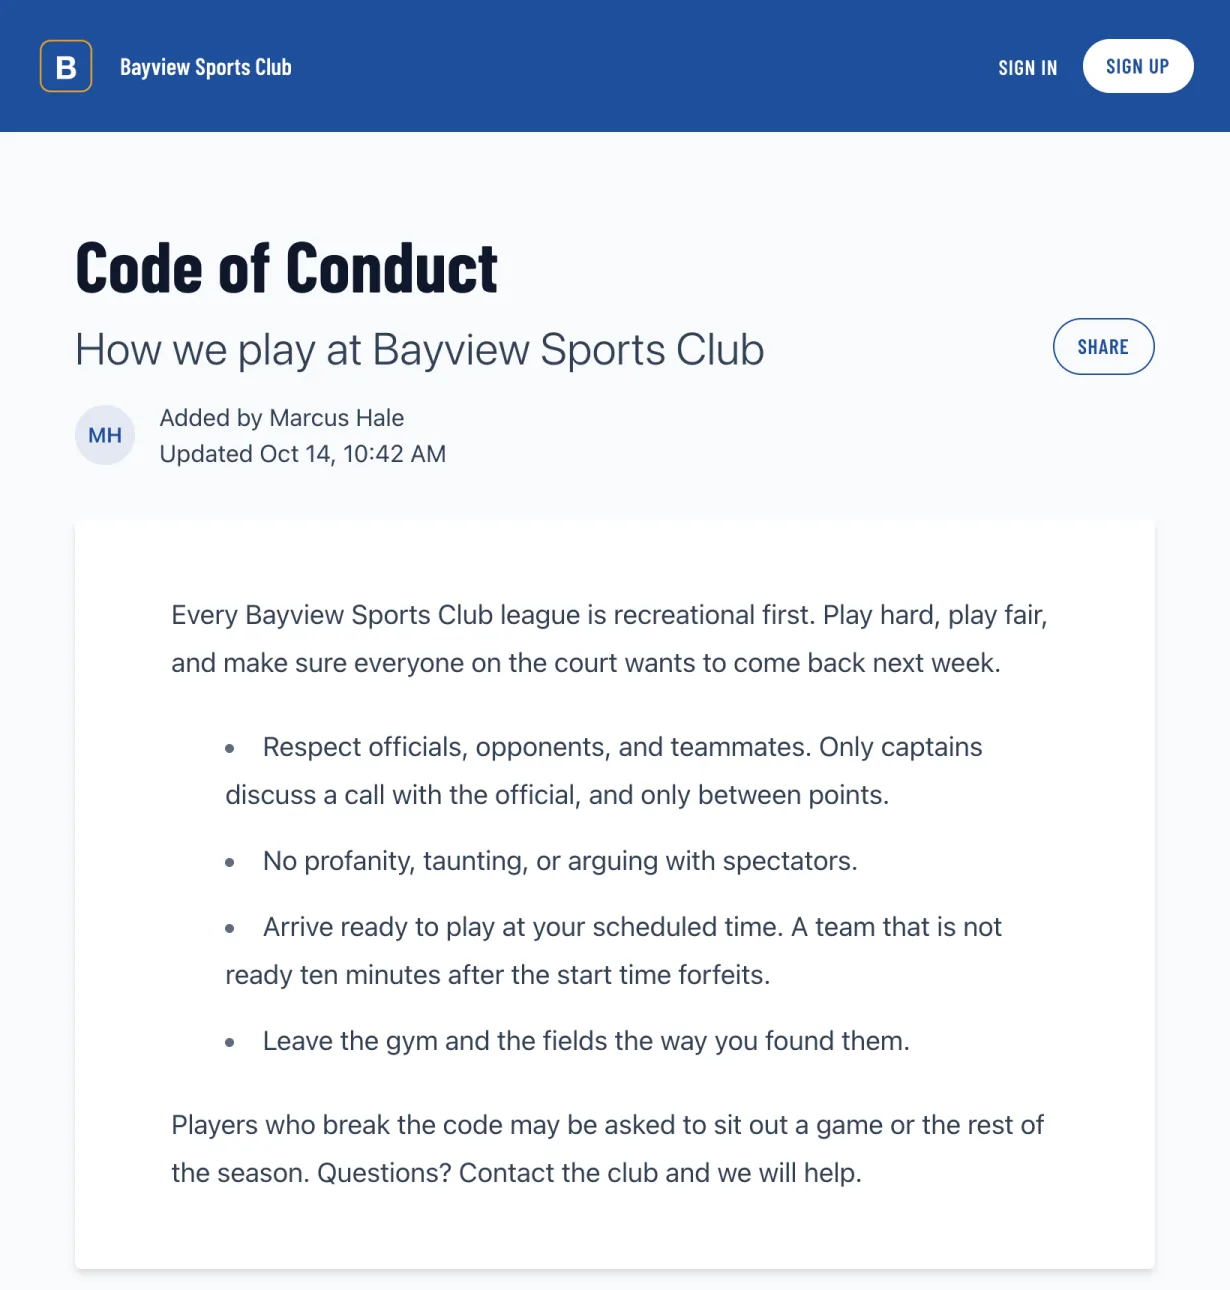
Above is an example Code of Conduct page. Note the organization's square logo and name at top. The same square logo is the icon in the browser tab.
Create a store
From the Create menu or from Dashboard > Products > Storefronts you can create a storefront to sell products like merch, uniforms, and other extras.
For first-class sponsor packages with logo uploads, approvals, and automatic website placement, create a sponsorship program. Use a storefront for simple donations or sponsor-style products that do not need logo display rights.
For a donation storefront, create a fixed-price product like Donation, $25 Donation, or Support the Team, attach it to a storefront, then share that storefront or add it to a homepage section.
Open Edit > Setup > Products on the storefront to attach products for checkout. Need to create products first? Manage your catalog from Dashboard > Products.
Players can open your storefront, choose product quantities, and complete checkout online. Each order shows the selected products on the player's receipt and in your dashboard.
If a parent or guardian is signed in, they can also choose a saved player or add a new player during storefront checkout. On the website, manage saved players from Profile & Settings > Family > Players. In the iOS app, tap your profile picture and use Family. The paying account still owns the receipt and payment, while the selected player name appears on the order receipt and in your dashboard.
You can share the storefront directly or add it to a homepage section so it appears alongside the rest of your website content.
If you want to offer the same sponsor or donation product during player signup instead of on a standalone website page, attach it directly to a registration activity from Edit > Setup > Products there.
For product options, stock, personalization, pickup, shipping, and order fulfillment, see Getting started with Products and Storefronts.
Upload files and docs
From Dashboard > Website > Uploads you can upload files and docs.
You can upload nearly any file and doc to share with your players. Here are the accepted file formats: PDF, DOC, spreadsheet (XLS, CSV), or image (JPG, PNG, GIF). Less than 5MB in size.
Just like pages (above), your uploads will have their link you can share. Unlike pages, you can't edit an upload. But it's easy to delete one and upload a new version.
Uploads can be added to any of your schedules, registration activities or pages with 1 click, in any of these ways:
- From the Upload itself go to Visibility and click Add.
- From any schedule, registration activity or page go to Edit > Advanced and click Add an uploaded file.
FAQ
How do I organize content on my homepage?
I already have a website. How should I link Playpass content?
- Publish each schedule, registration activity, or waiver and use the Share link to grab a URL you can post anywhere (your site, social media, email, etc.).
- Prefer to keep everything on your site? Click Embed to copy the HTML snippet you can paste into your own CMS.
- You can even redirect registrants back to a page on your site after they finish by setting a post-registration link under Edit > Prices.
Can I use my own domain name?
- Yes! On paid plans, connect your own domain (like
yoursportsclub.com) for $99/year. See Custom Domain above for setup instructions.
Can I change my website's style and use my brand colors?
- Yes. Open Dashboard > Website > Design, pick a style, set your brand and accent colors (or let Playpass suggest them from your logo), and tap Save. See Design your website above.
- The light or dark setting in Profile & Settings > Appearance still applies to your account, receipts, and manager screens. Public registration, checkout, booking, and waiver forms follow the organizer’s website style.
How do I create a donation or sponsor button?
- For sponsor packages with logo uploads, approval, and automatic placements, create a sponsorship program from Dashboard > Products > Sponsorship program. Add packages such as Bronze, Silver, and Gold, then publish and share your sponsor page.
- For simple donations, create one or more fixed-price products in Dashboard > Products, then attach them to a storefront in Dashboard > Products > Storefronts. Share the storefront URL or add the storefront to a homepage section.
- For sponsor add-ons sold during registration checkout, attach products directly to the registration activity from Edit > Setup > Products there.
What's next?
- Design your site from Dashboard > Website > Design
- Create a page from Dashboard > Website > Pages
- Create a storefront from Dashboard > Products > Storefronts to sell products online
- Create a sponsorship program from Dashboard > Products > Sponsorship program to sell sponsor packages and display approved logos
- Manage your product catalog from Dashboard > Products
- Upload a file from Dashboard > Website > Uploads
- Connect a custom domain from Dashboard > Settings > Website Address (paid plans, add-on)
- Learn about creating a registration activity to accept online registrations
- Learn about setting up online payments with Stripe to accept payments online
- Learn about creating a referral program to reward members for inviting friends
- Learn about inviting staff members to help manage everything
- Learn about creating a schedule for your players and teams
Running a league or program?
See how Playpass can help you manage it all